|
|
|
|
|
|
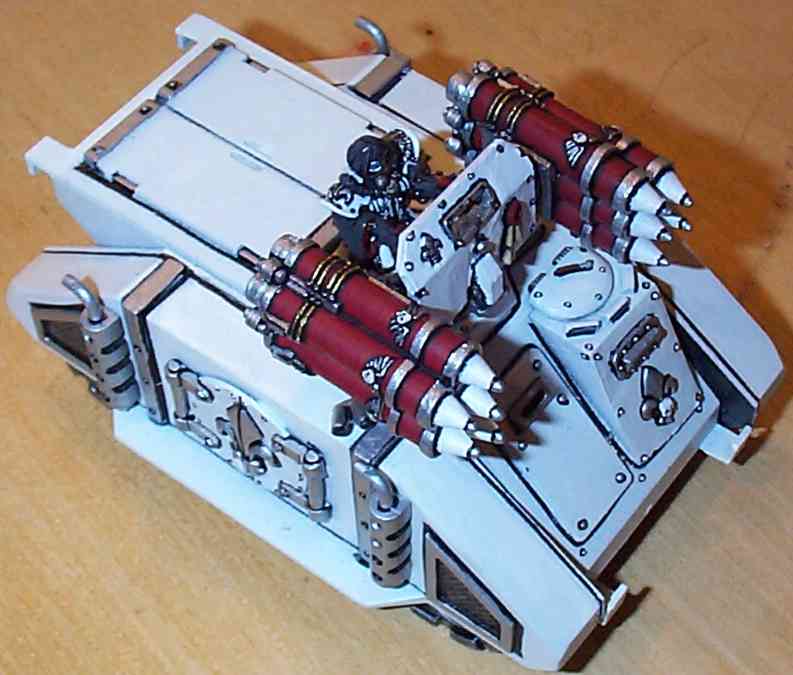
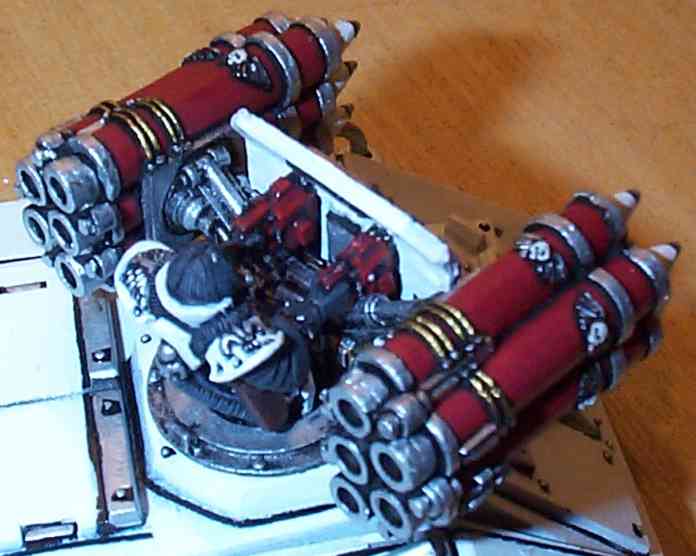
Exorcist Tank conversion by John Swann as seen on the Games Workshop website Conversion Corner. First, cut off the peg and two little angley bitz from the bottom of the Rocket Support Arms, (you'll know what I'm talking about when you look at them) leaving a flat surface. Then file off the two front hatch lugs from the Immolator Upper Turret Base, and cutting perpendicular to the Base, remove the angled portion of the bit that holds the Immolator shield in place. If you look at it, you'll see that there's some metal that angles back away from the mounting hole towards the ring. That's the bit to cut, but make sure to leave the support bit that actually holds the Blast Shield. When you're done there, you should be able to place the Rocket Support Arms snugly into the Upper Turret Base. Next, cutting parallel with the Shield, remove the control panel that is on the back of the Immolator Blast Shield. Then cut some sheet styrene to cover the "holes" in the Blast Shield where the Immolator Heavy Flamers usually go. Finally, cut the Heavy Flamers just behind the front hose and remove the rear hose at the base of the Flamer, leaving just the hands and the back portion of the Flamers. Center the Whirlwind Rocket Support Arms against the Immolator Upper Turret Base, and glue into place. It should fit pretty snugly up against the Immolator Blast Shield. For the rest, assemble just like an Immolator. If you want the turret to be able to rotate 360 degrees, you'll also have to cut down the scanner dealie on the Immolator Turret Base, because the Rocket Pods will hit it.
|